
How to Set Up Static Code Analysis For Your Project
Static code analysis is a method for identifying bugs and other quality issues in the program by examining the source code without actually running it. This is achieved by scanning the codebase and tracing code paths to find common code smells, potential bugs, tech debt (e.g., duplicate code), unit test coverage, and code logic complexity. Static code analysis can be done manually but there are many static code analyzer tools to automate this. We’ll look at one of these tools, SonarQube, and walk through the process of setting it up locally and adding a static code analysis step to the Continuous Integration/Continuous Delivery (CI/CD) process for your projects.
Table of Contents
SonarQube provides a free and open-source community edition that supports a variety of languages. There are two main components of the static analyzer:
- SonarQube Server
- SonarQube Scanner
As the name implies, the Scanner scans your codebase for code smells, bugs, etc, and sends the result to the SonarQube Server. You just need to set up SonarQube Server and Scanner once on each machine to be able to perform scans of all the codebases which exist on that machine.
Let’s try to set up SonarQube Server and Scanner on our local machine.
Setting Up SonarQube on Local Machine
Prerequisite
You can skip this section if you already have Docker installed.
We need to install docker to run the sonarqube server docker image. Install the Docker Desktop app from here.
Install docker-machine
$ brew install docker-machine
Set Up and Start The SonarQube Server
We are going to run our server using the Official SonarQube Docker Image.
$ docker pull sonarqube
$ docker run -d --name sonarqube -p 9000:9000 sonarqube
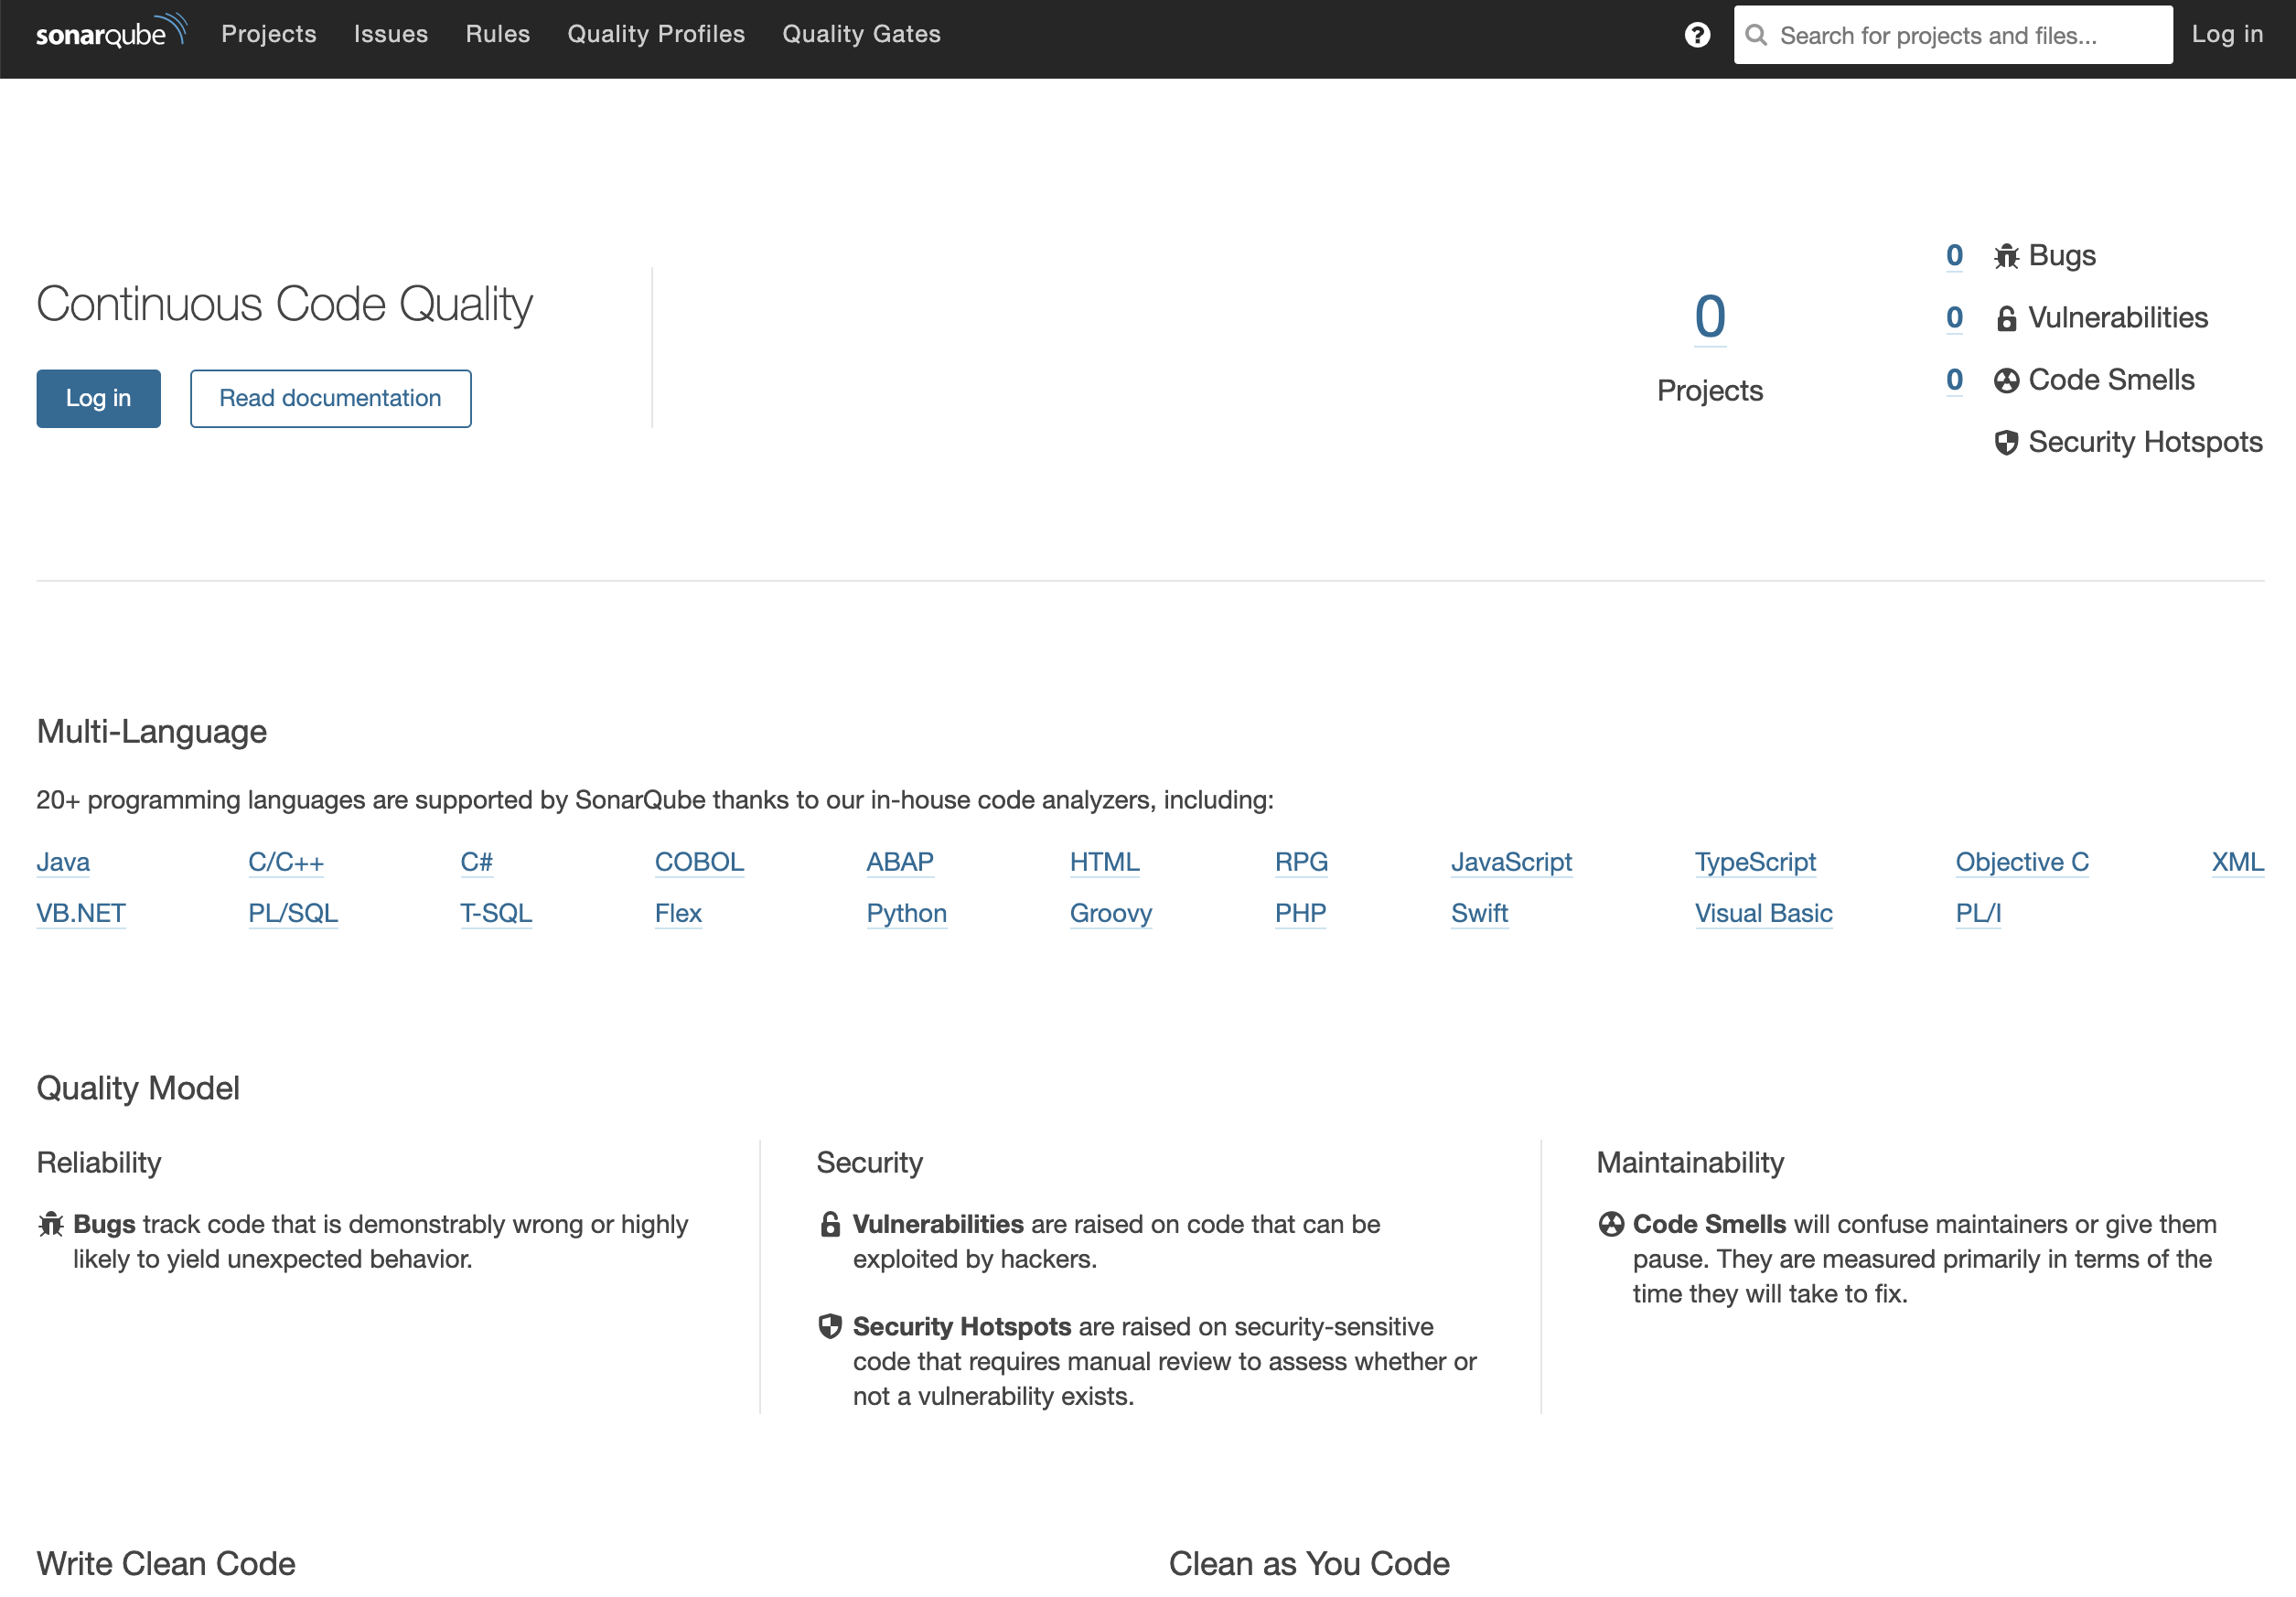
After running docker run, you should be able to go to http://localhost:9000/ and see this page:
Log in with System Administrator credentials (login=admin, password=admin). You may be prompted to change your password to something more secure.
Set Up SonarScanner
After your server is up and running, you’ll need to install one or more SonarScanners on the machines where analysis will be performed.
Download SonarScanner from here.
If you choose to download the zip file, update .bash_profile to add SonarScanner to your PATH:
$ code ~/.bash_profile
export PATH="/usr/local/bin:$PATH:/path/to/sonarScanner/bin"
Then update conf/sonar-scanner.properties to point to your SonarQube Server.
sonar.host.url=http://localhost:9000
If your SonarQube server is hosted somewhere else, update the host url appropriately.
Perform SonarQube Scan on Project
To set up the ability to scan a project on your machine is as easy as adding a file to the root directory and run sonar-scanner from the root directory.
Let’s add sonar-project.properties to the project:
# must be unique in a given SonarQube instance
sonar.projectKey=my-awesome-project

# --- optional properties ---

# defaults to project key
#sonar.projectName=My project
# defaults to 'not provided'
#sonar.projectVersion=1.0

# Path is relative to the sonar-project.properties file. Defaults to .
sonar.sources=src

# Encoding of the source code. Default is default system encoding
#sonar.sourceEncoding=UTF-8

sonar.host.url=http://localhost:9000
The sonar.projectKey for every project has to be unique. Choose a key appropriate for your project.
In order to analyze JavaScript code using SonarScanner, you need to have Node.js >= 10 installed on the machine running the scan. Make sure before you are ready to launch the analysis, set your machine’s node version to 10.
nvm install 10
nvm use 10
$ yarn jest --coverage
To perform a sonar scan on your project is as simple as running the following command from the project base directory, passing your authentication token:
$ sonar-scanner -Dsonar.login=<project_security_token>
Once the analysis is complete, visit the sonar server and you’ll see that the result of the sonar scan:
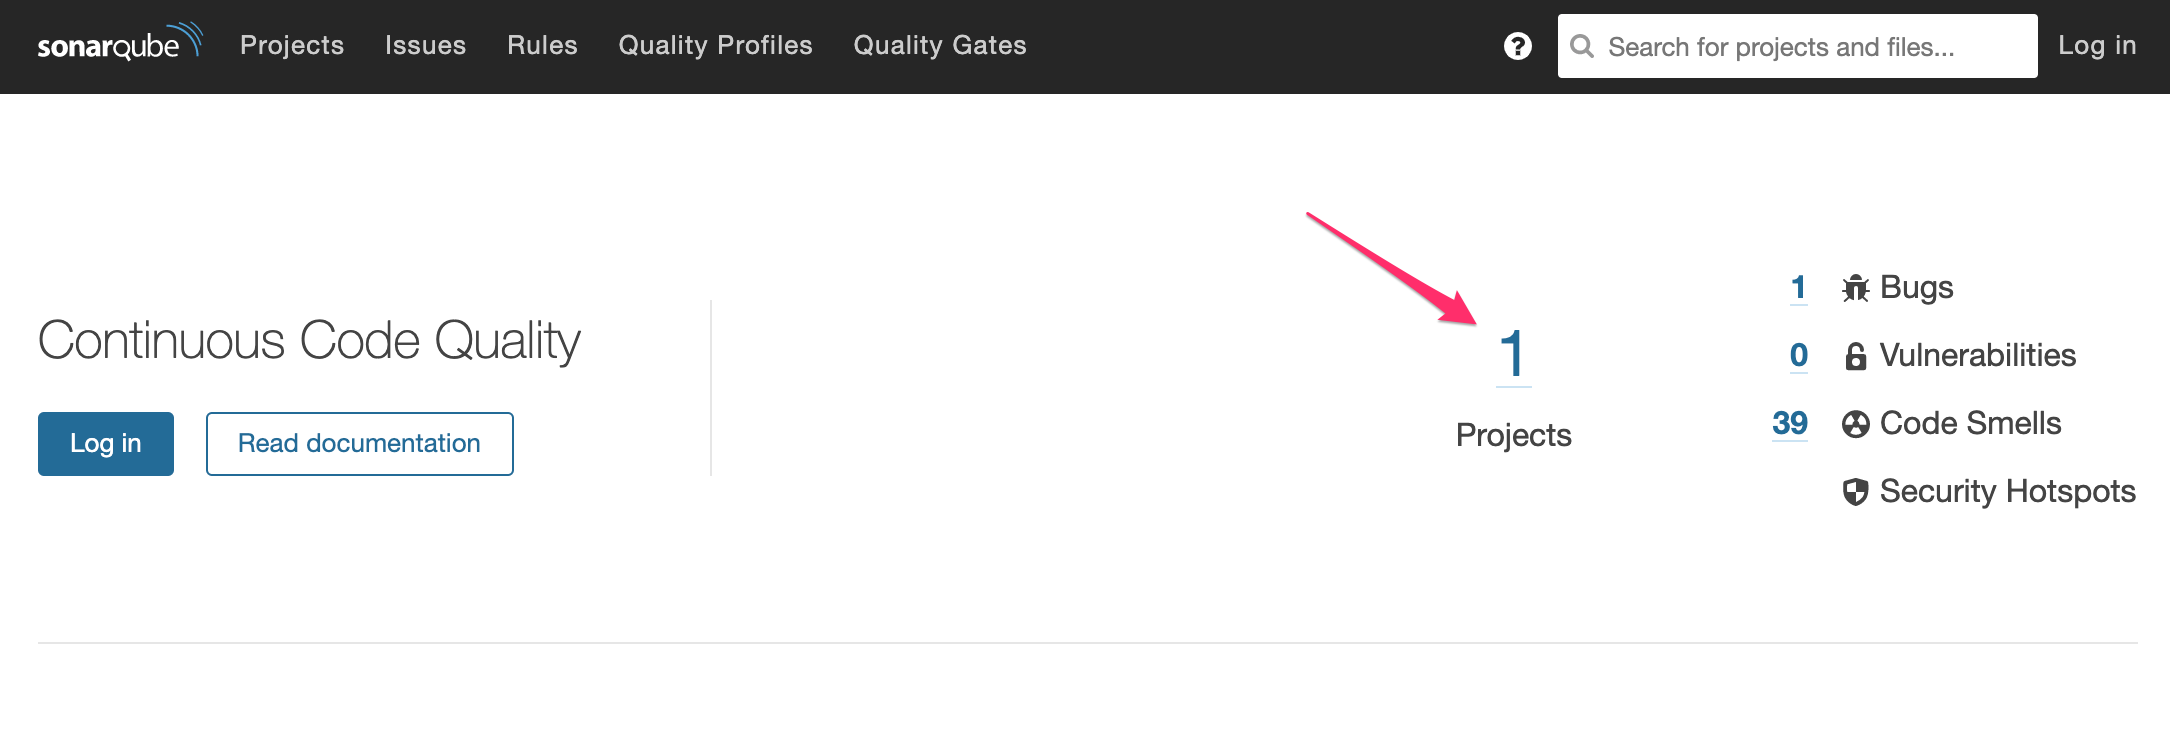
You can then click on each analyzed projects and using the SonarQube Server app’s UI to explore the results of the scan.
Test Coverage Set up
According to the SonarQube Doc,
SonarSource analyzers do not run your tests or generate reports. They only import pre-generated reports.
Suppose we have a Create React App project with Jest as our unit testing framework. We can generate a test coverage report with the following command:
$ yarn jest --coverage
This will generate a coverage folder which contains the following:
Icov-report/clover.xmlcoverage-final.jsonIcov.info
In our sonar-project.properties, add the following line
sonar.javascript.lcov.reportPaths=coverage/lcov.info
Integrate SonarQube With Jenkins
The community edition does not support automatic integration with GitHub and other repository hosting platforms. However, if you have your own CI/CD server (e.g., Jenkins) set up, you can easily add a step to your CI/CD pipeline.
The following tutorial walks through how you can set up SonarQube for Jenkins and your project. The setup for Jenkins only has to be performed once to allow all projects on the Jenkins server to utilize the SonarQube Scanner in its CI by updating the JenkinsFile. When everything is set up, the SonarQube Scanner will be invoked in a CI stage to trigger analysis on the source code and send the analysis to the SonarQube Server.
You do not need System Administrator credential to view the analysis results on the SonarQube Server but if you want to make changes to the projects, you need to log in with the following credentials
- login: admin
- password: admin
This tutorial does not cover setting up SonarQube Quality Gate; however, it’s a good idea to set up quality gate for your project to fail CI if it fails a set of conditions that qualify it for production release.
-
Add SonarQube Server Configuration
- Go to Manage Jenkins > Configure System.
- Scroll down to the SonarQube configuration section and click on “Add SonarQube”.
- Fill in fields appropriately. The name you enter (e.g., “SonarQube Server”) is the environmental variable name that you’ll use in
JenkinsFile.
-
Install SonarQube Scanner for Jenkins
- Manage Jenkins > Manage Plugins > Available
- Install without restart “SonarQube Scanner”
-
Configure SonarQube Scanner
- Manage Jenkins > Global Tool Configuration > SonarQube Scanner
- Picl “Install automatically” and pick a version from the dropdown menu. Enter the name of your scanner. The name you enter for the SonarQube Scanner field (e.g., “SonarQube Scanner”) is the tool name that you’ll use in
JenkinsFile.
-
Add
sonar-project.propertiesto your project. For example:# must be unique in a given SonarQube instance sonar.projectKey=my-awesome-project # --- optional properties --- # defaults to project key #sonar.projectName=My project # defaults to 'not provided' #sonar.projectVersion=1.0 # Path is relative to the sonar-project.properties file. Defaults to . #sonar.sources=. # Encoding of the source code. Default is default system encoding #sonar.sourceEncoding=UTF-8 sonar.javascript.lcov.reportPaths=coverage/lcov.info -
Add a new stage to
Jenkinsfile.
stage('Static Code Analysis') {
    sh 'yarn'
    def scannerHome = tool 'SonarQube Scanner';
    withSonarQubeEnv('SonarQube Server') {
        sh "${scannerHome}/bin/sonar-scanner"
    }
    sh 'rm -rf node_modules'
}
Tips and Cheat Sheet
Tips
- Running the sonar scanner locally will create a
.scannerworkfolder. Add that to your.gitignorefor the project - When you are done, stop the sonarQube server
docker stop <CONTAINER ID> - If your SonarQube server keeps crashing each time after you send results to it from a sonar scan, look at
docker ps -a,docker logs <CONTAINER_ID>to find out the cause
Cheatsheet: Perform SonarQube Scan on your own Machine
- Start Docker
- Start the server docker image
docker run -d --name sonarqube -p 9000:9000 sonarqube
Alternatively, if you previously started and stopped a sonarQube server instance, just find out the container ID with:
docker ps -a
Then you can just start the process again
docker start <CONTAINER_ID>
- Check Server is Started by visiting http://localhost:9000/ or perform an inspection of docker processes with
docker ps -a - Open to
/path-to-sonar-scanner/sonar-scanner/conf/sonar-scanner.properties
cd ~/sonar-scanner/conf
code sonar-scanner.properties
Make sure sonar.host.url is set to localhost:9000 5. Perform SonarQube scan in the project directory by running sonar-scanner 6. Check http://localhost:9000/ to see that the result is written to the SonarQube server.
