
Thirsty Plant: Automated Plant Waterer
by Xiaoyun Yang and Clyde Shaffer
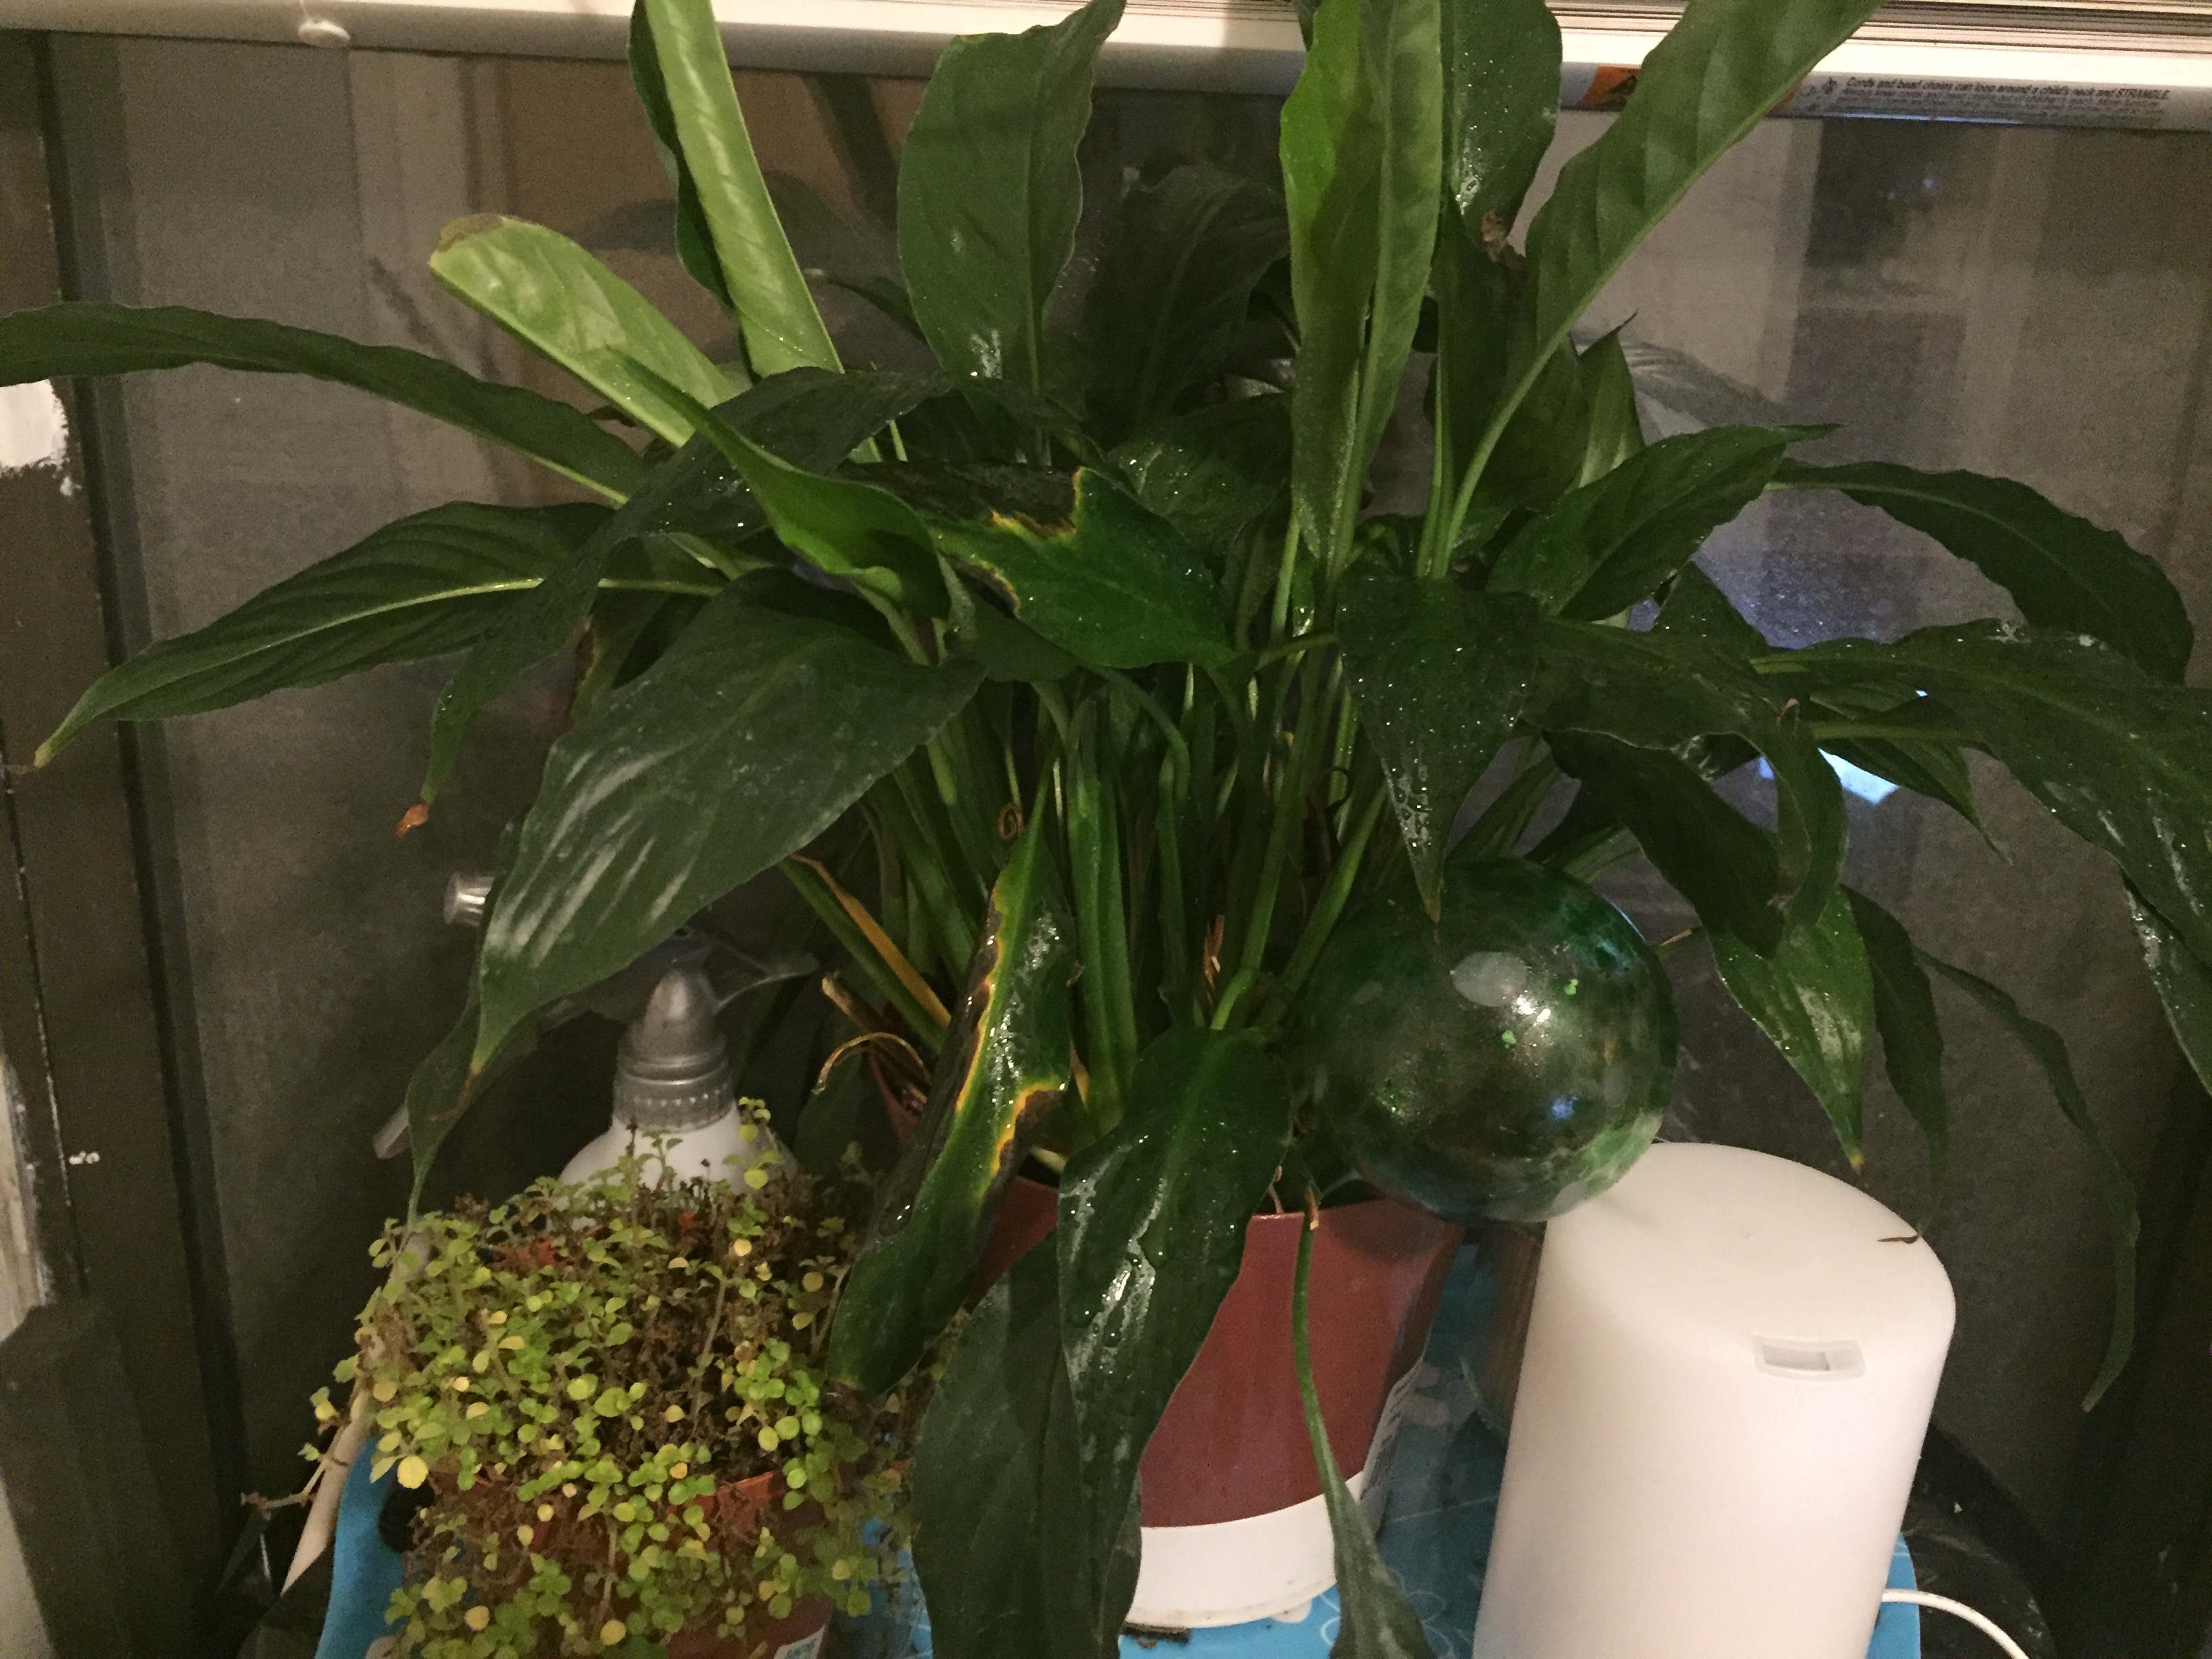
I love indoor plants but I’m bad a keeping them alive. I once had a cactus that died from thirst. I purchased a few Aqua Bulbs, which has been great help in keeping the big plant watered enough for me to get around to taking care of it. However, I can’t use the Aqua Bulb on my smaller plant. Also, Aqua Bulbs break easily and refilling it with water is always a hassle. This motivated me to build an automated plant waterer. Let’s call it ThirstyPlant.
Table of Contents
Concept Design
The basic idea for ThirstyPlant is that it will leverage a moisture sensor in the soil to actuate a pump that sprays water whenever the soil gets too dry.
Here’s a cartoon of the conceptual design.

Electronics
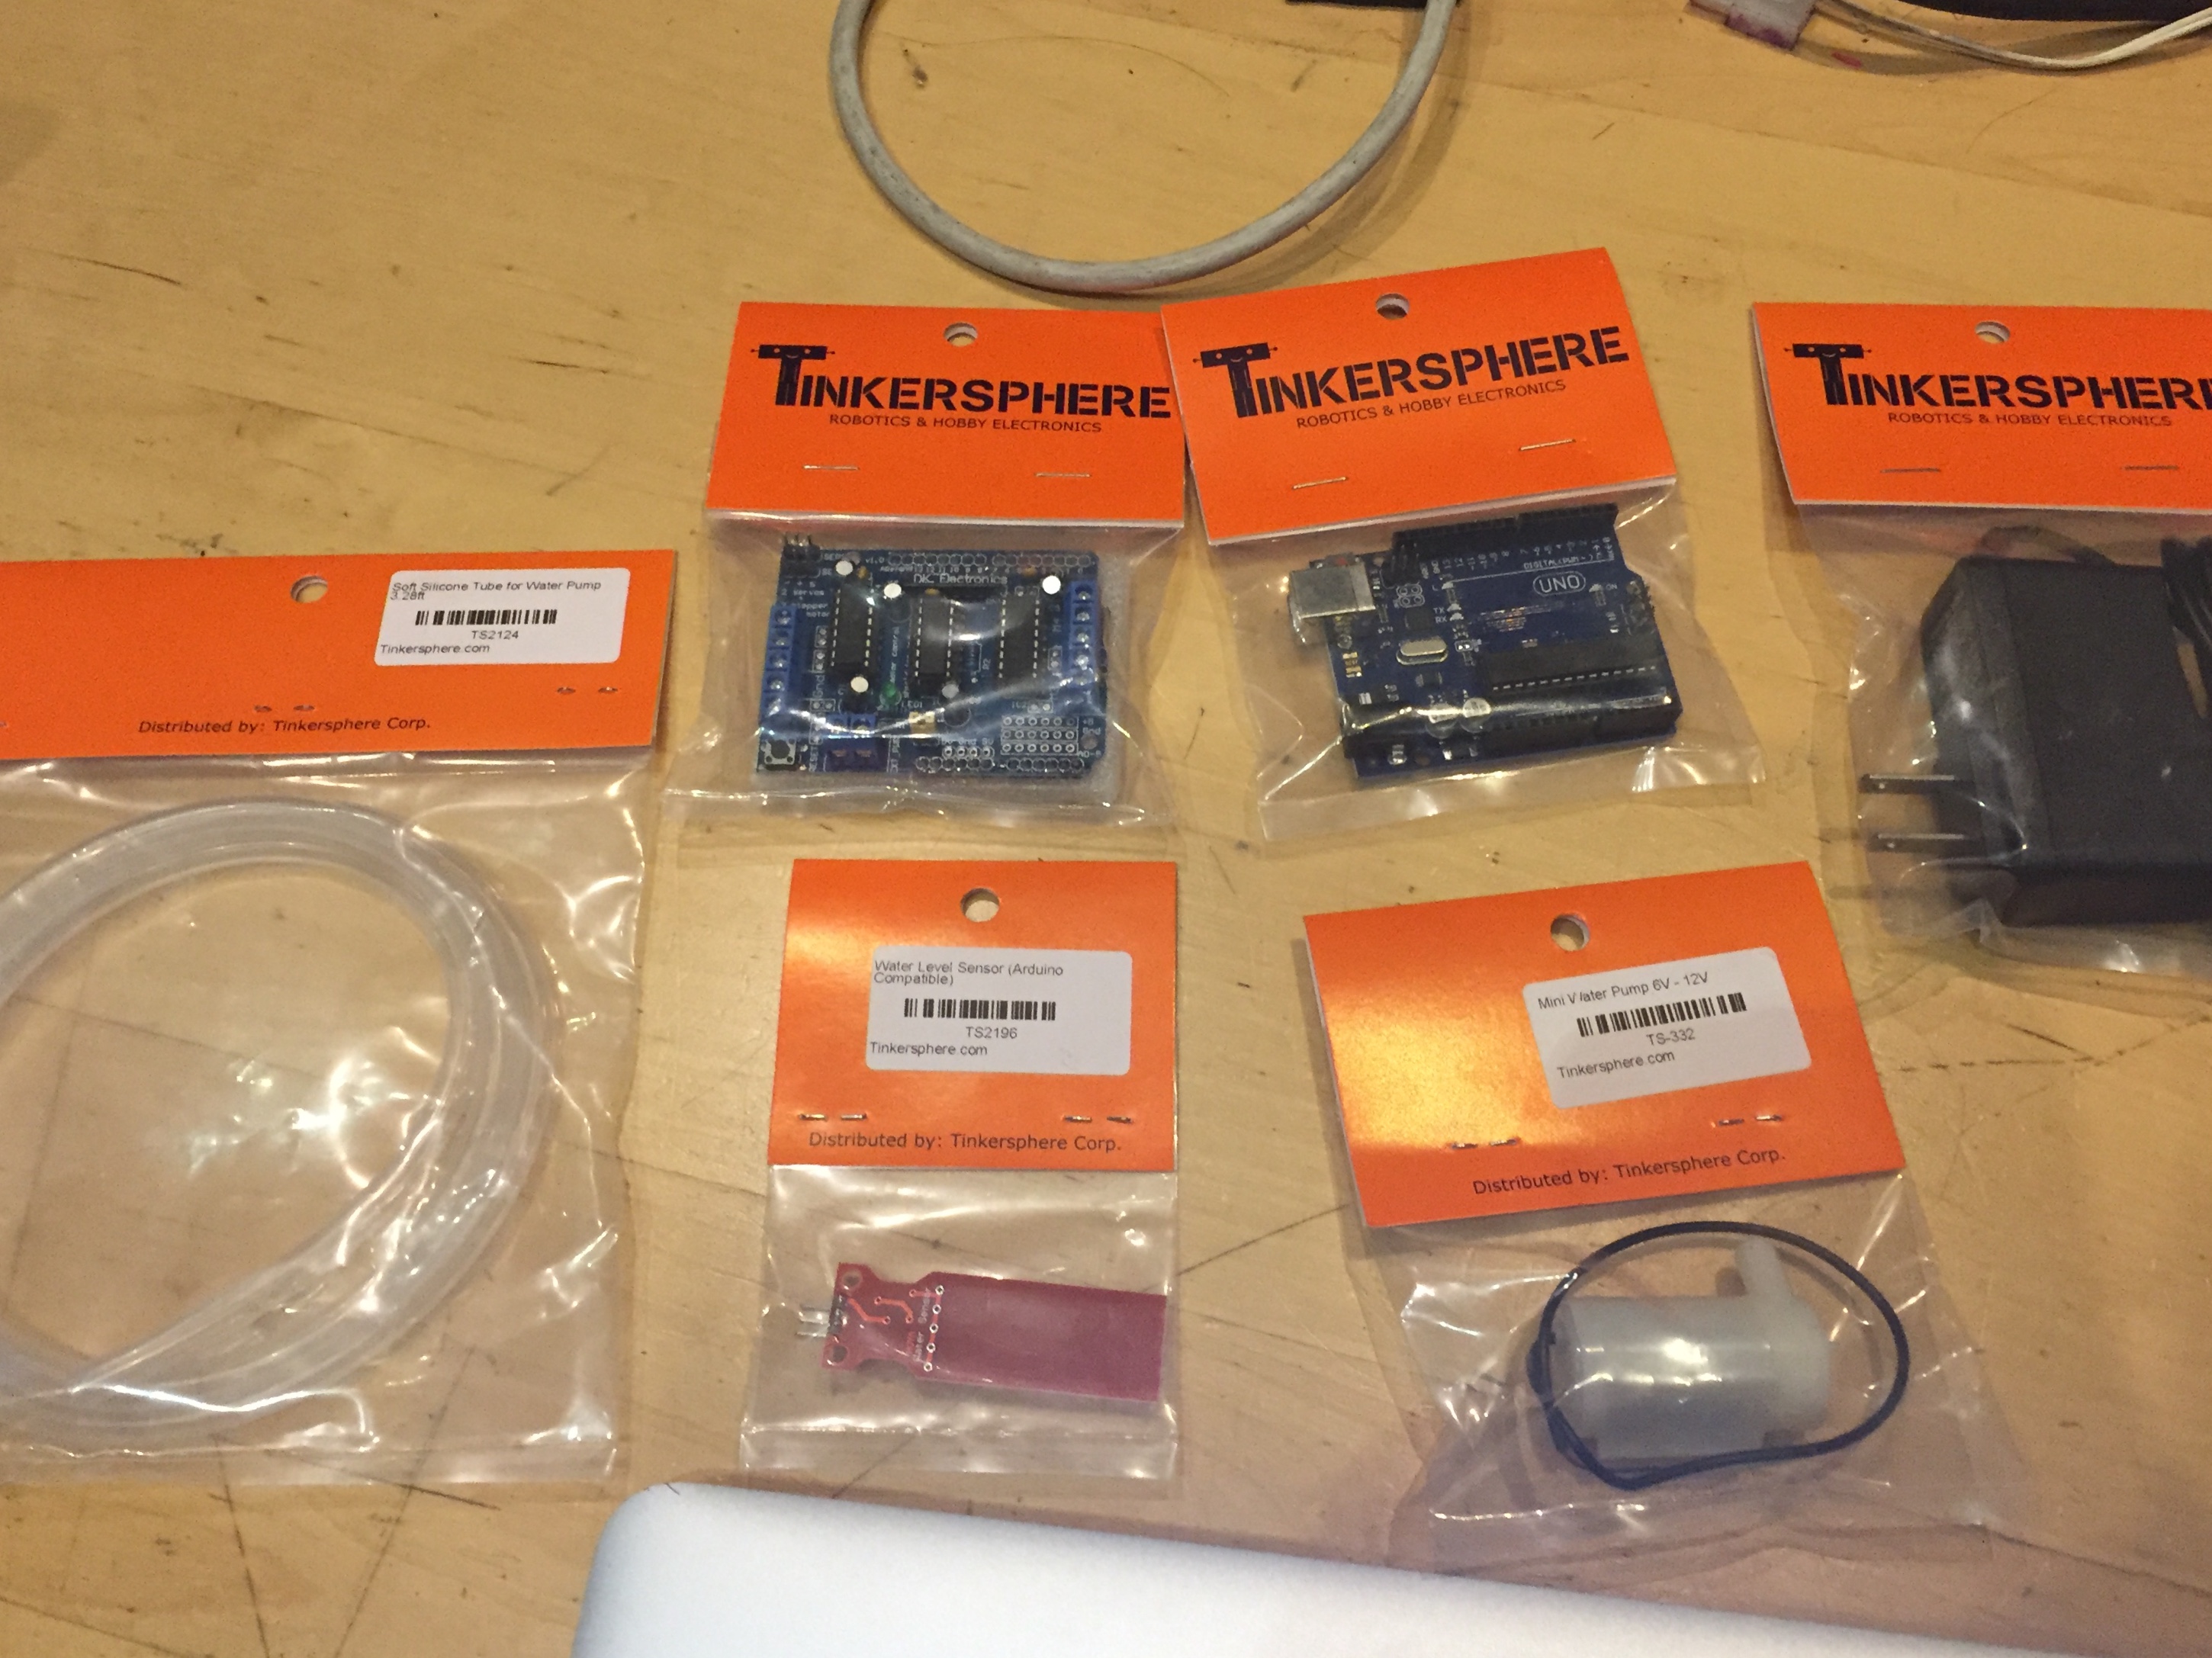
We got a few parts from a hobby store in NY called Tinkersphere.
Parts list:
- Arduino UNO
- Arduino Motor Shield v1
- Moisture Sensor
- Submersible water pump
- Silicone tubing
- 12v DC Power Adaptor
- Pin headers (three sets of 6 pins)
- Female-to-Female jumper wires (3 wires)
Arduino + Moisture Sensor
The moisture sensor consists of a PCB with a transistor, an LED, and about a dozen exposed parallel traces. The traces are connected in two groups such that there is no direct connection between any adjacent pair of traces. Normally this means that current cannot flow between the two groups of traces, but in the presence of moisture an electrical contact is formed. As more water accumulates, the resistance of the circuit decreases, and the voltage on the Signal pin of the sensor increases. This voltage is directly compatible with the analog input pins of an Arduino, and can be read with the analogRead() function.
First, we need to use jumpers to plug in the moister sensor into Arduino.
- Connect
Sto A0. - Connect
+to 5V. - Connect
-to Ground.

Next, let’s write the code to read moisture level. Follow the getting started guide.
void setup() {
  Serial.begin(9600);
}

void loop() {
  int sensorValue = analogRead(A0);
  float voltage= sensorValue * (5.0 / 1023.0);

  float threshold = 1.2;
  if(voltage < threshold) {
    Serial.println("water me");
  }
}
Open Serial Monitor and see that when the moisture sensor is dry, a “water me” message is printed out!
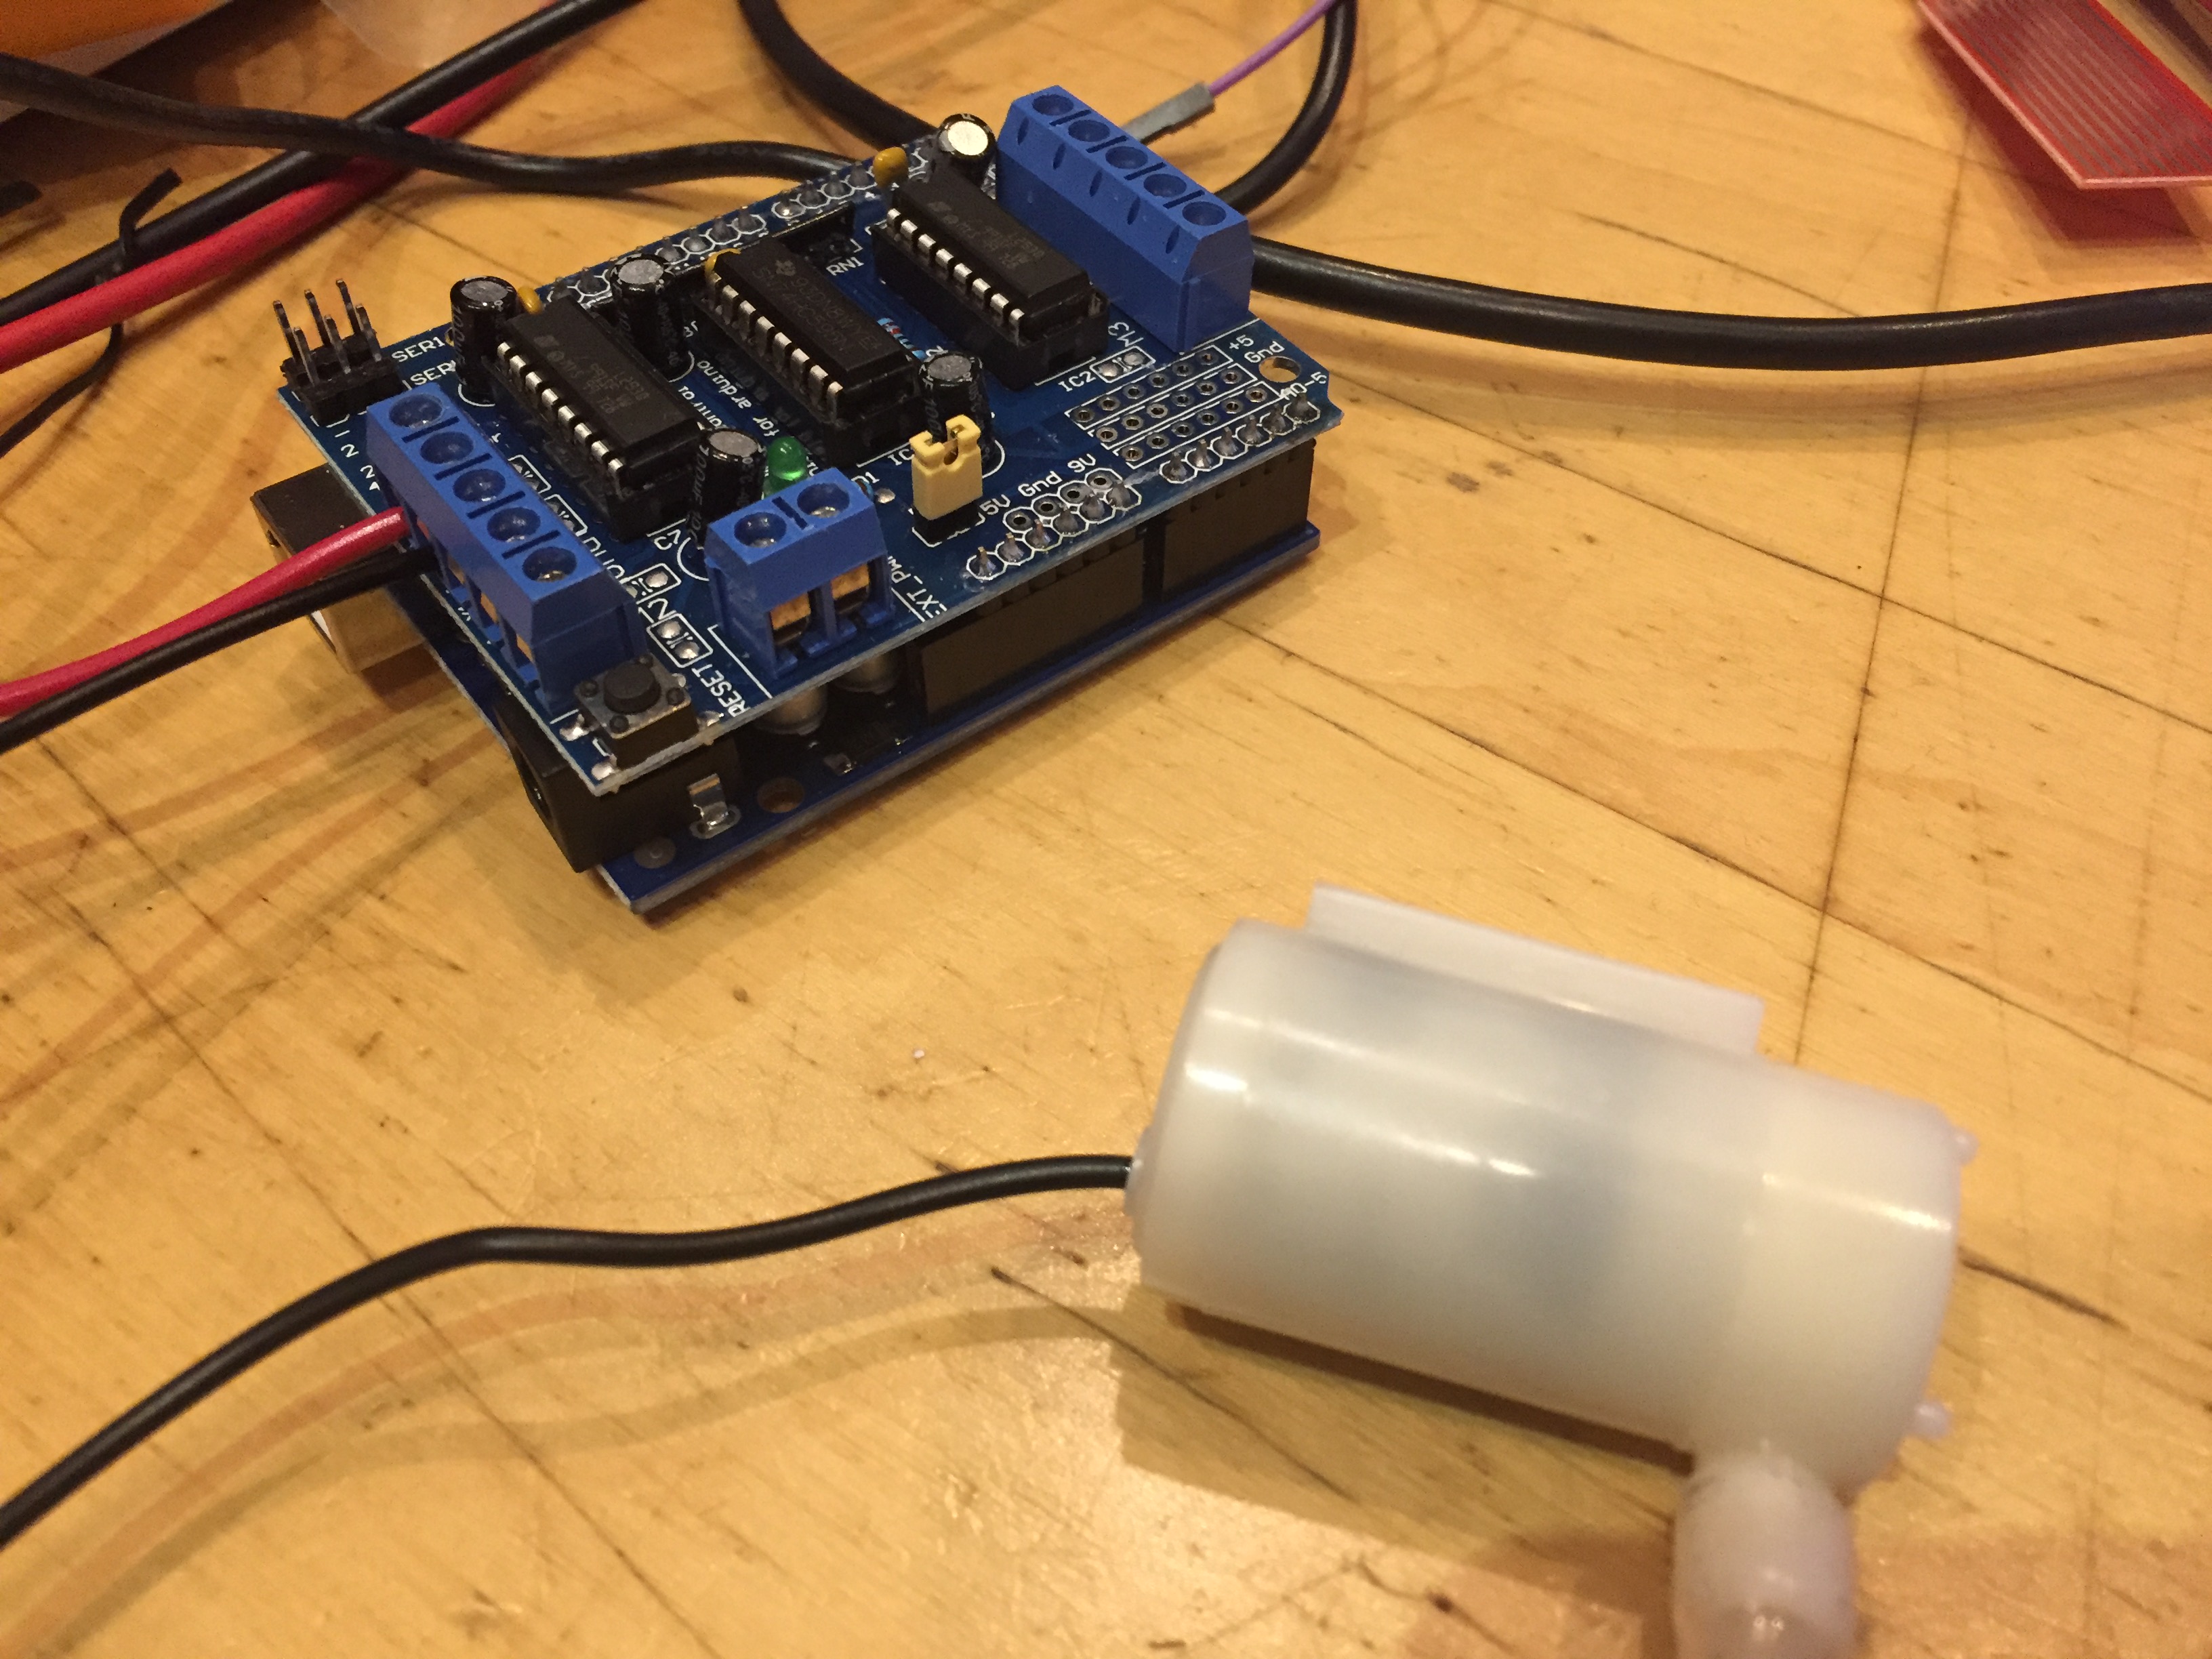
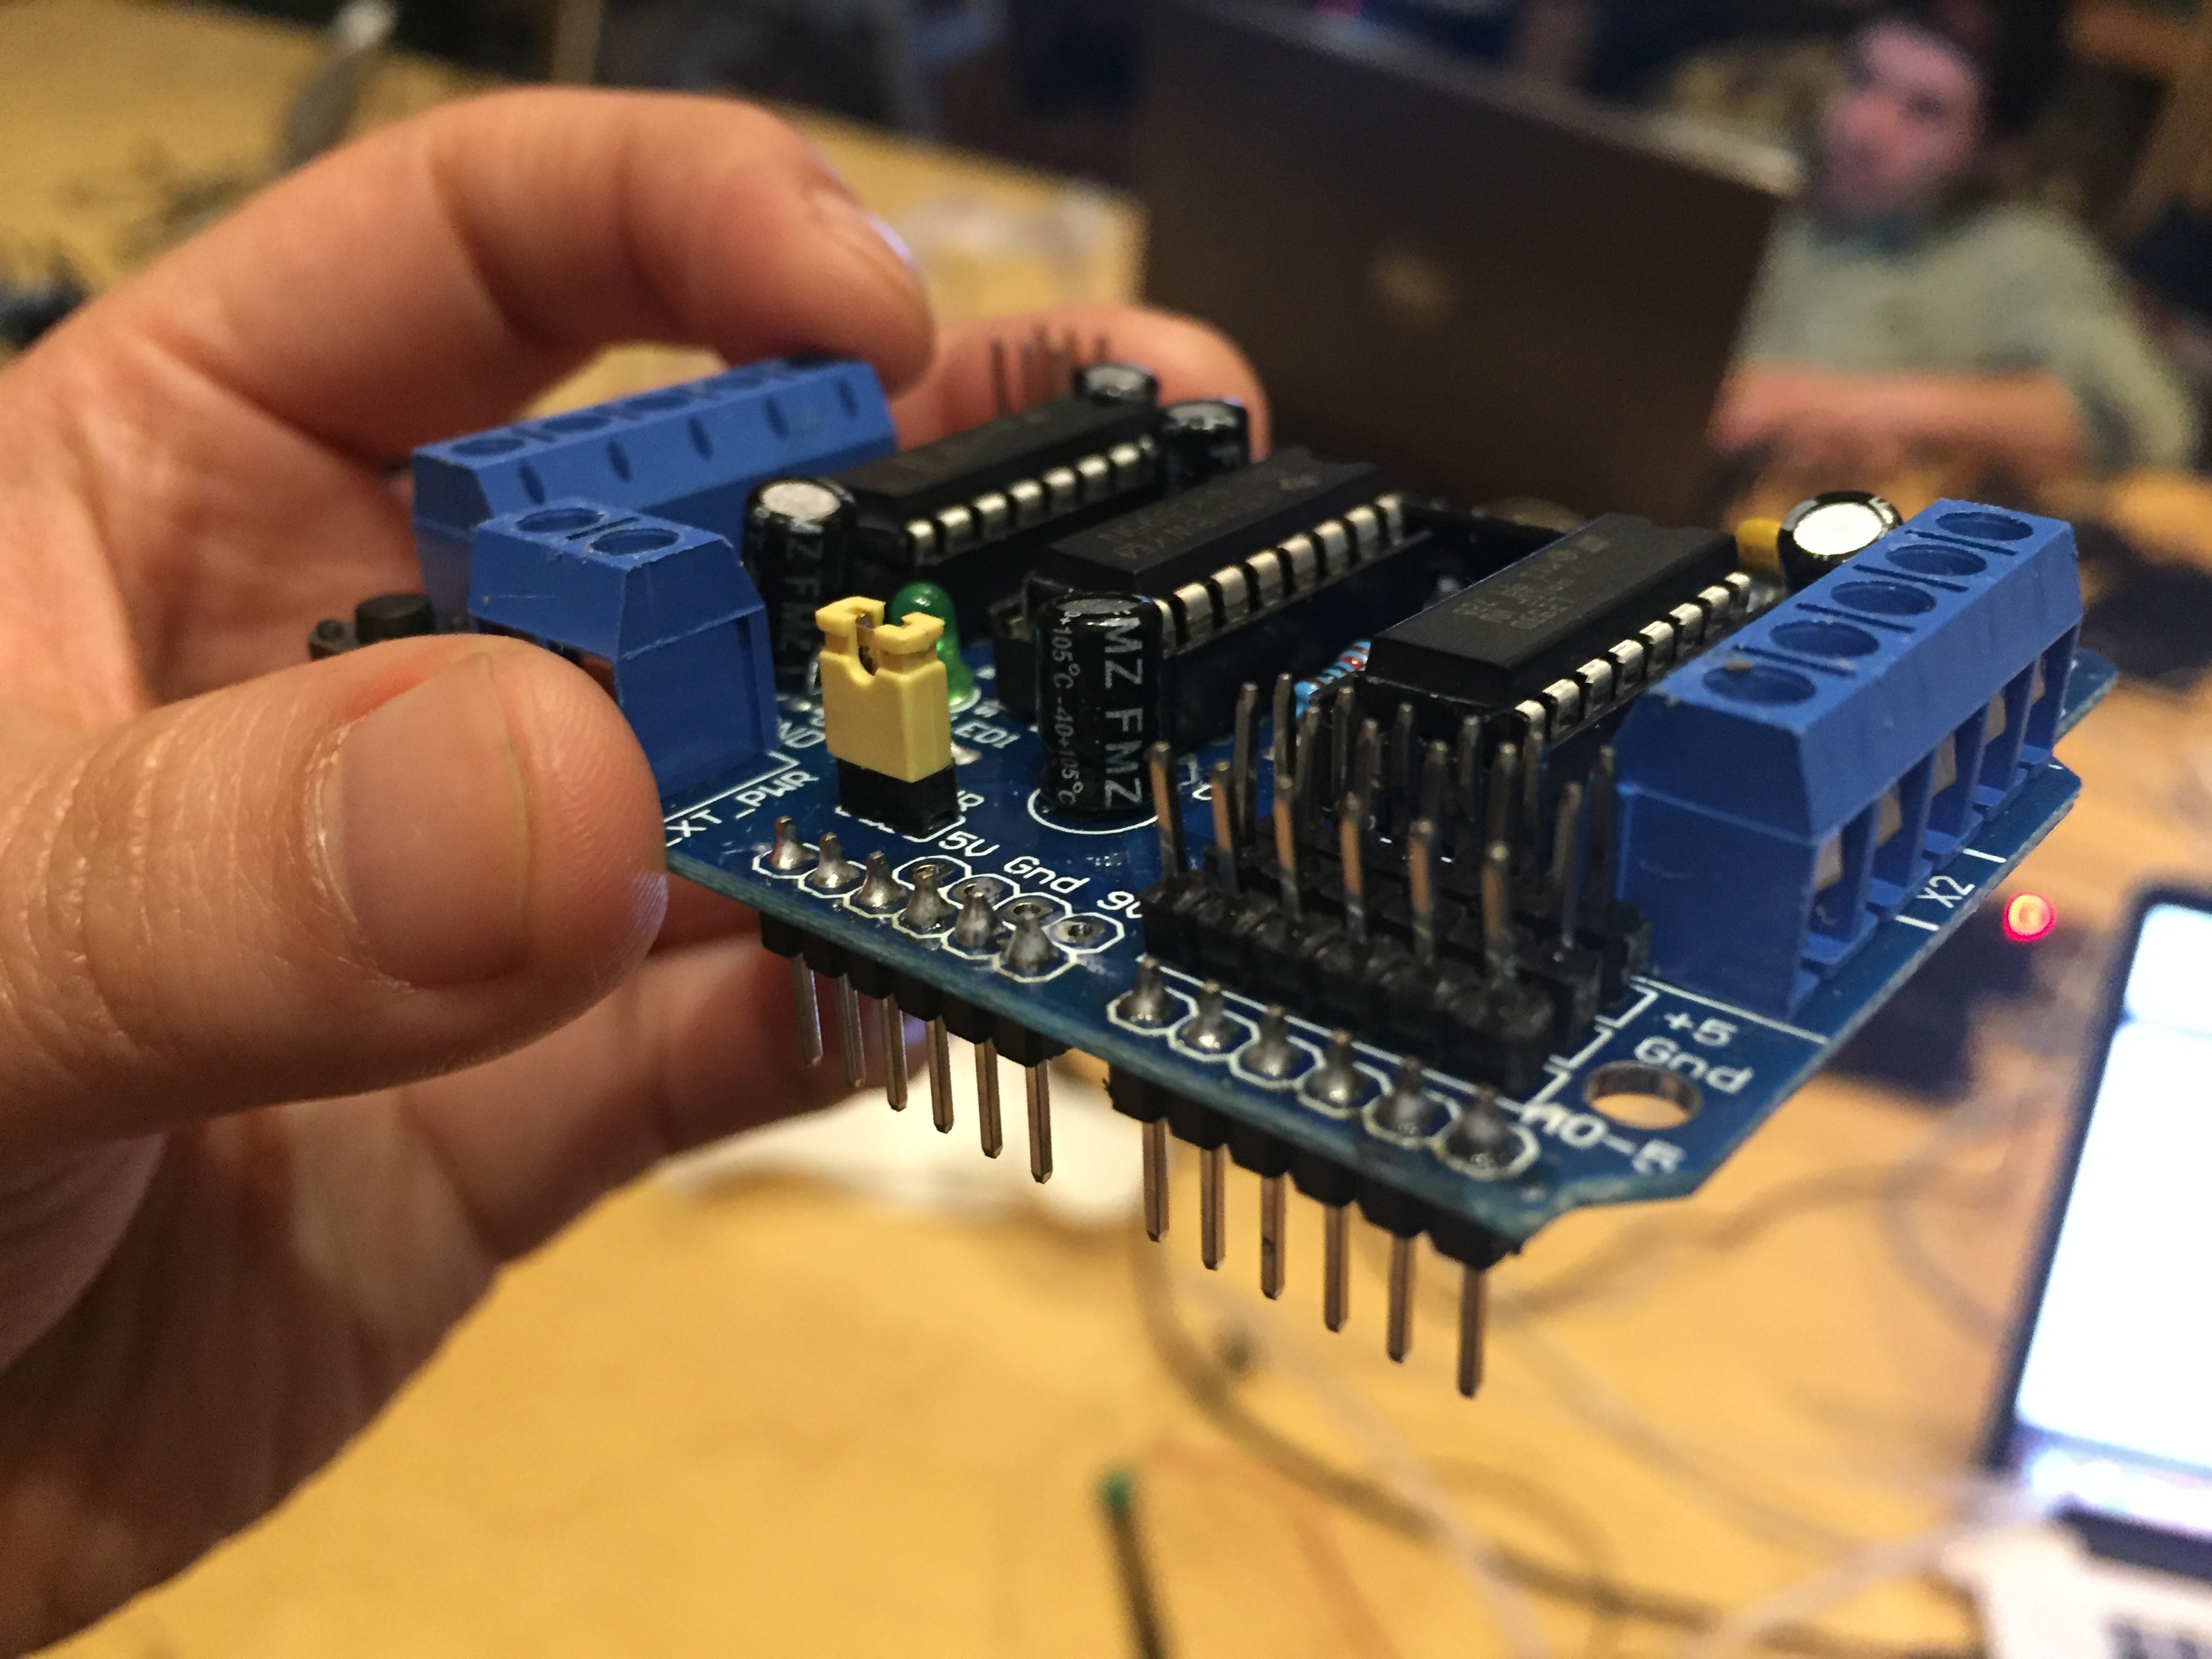
Arduino + Motor Controller
First, we want to mount the motor shield onto the Arduino and plug the DC motor into the screw terminal marked M1 as shown below.
Next, we follow the getting started to program the Arduino to control the motor.
#include <AFMotor.h>

AF_DCMotor motor(1, MOTOR12_1KHZ); // create motor #1, 1KHz pwm

void setup() {
  // put your setup code here, to run once:
  Serial.begin(9600);
  Serial.println("Motor test!");

  motor.setSpeed(200);     // set the speed to 200/255

}

void loop() {
  Serial.print("tick ");
  motor.run(FORWARD);      // turn it on going forward
  delay(1000);

  Serial.print("tock ");
  motor.run(BACKWARD);     // the other way
  delay(1000);

  Serial.print("tack ");
  motor.run(RELEASE);      // stopped
  delay(1000);

  int sensorValue = analogRead(A0);
  float voltage= sensorValue * (5.0 / 1023.0);
  Serial.println(voltage);
  float threshold = 1.2;
  if(voltage < threshold) {
      Serial.println("water me");
  }
}
This is the result:
Unit Test for motor controller
Arduino + Moisture Sensor + Motor Controller
We need to solder the pin headers to the +5, the ground, and the analog pins so the moisture sensor pins can be plugged into those.
Putting everything together:

The code
#include <AFMotor.h>

AF_DCMotor motor(1, MOTOR12_1KHZ); // create motor #1, 1KHz pwm

void setup() {
  Serial.begin(9600);
  Serial.println("Motor test!");

  motor.setSpeed(200);     // set the speed to 200/255

}

void loop() {
  int sensorValue = analogRead(A0);
  float voltage= sensorValue * (5.0 / 1023.0);
  float threshold = 1.2;
  if(voltage < threshold) {
    Serial.println("water me");
    motor.run(FORWARD);      // turn it on going forward
    delay(1000);
    motor.run(RELEASE);
  } else {
    motor.run(RELEASE);
  }
}
Integration Test for moisture sensor and motor controller Demo:
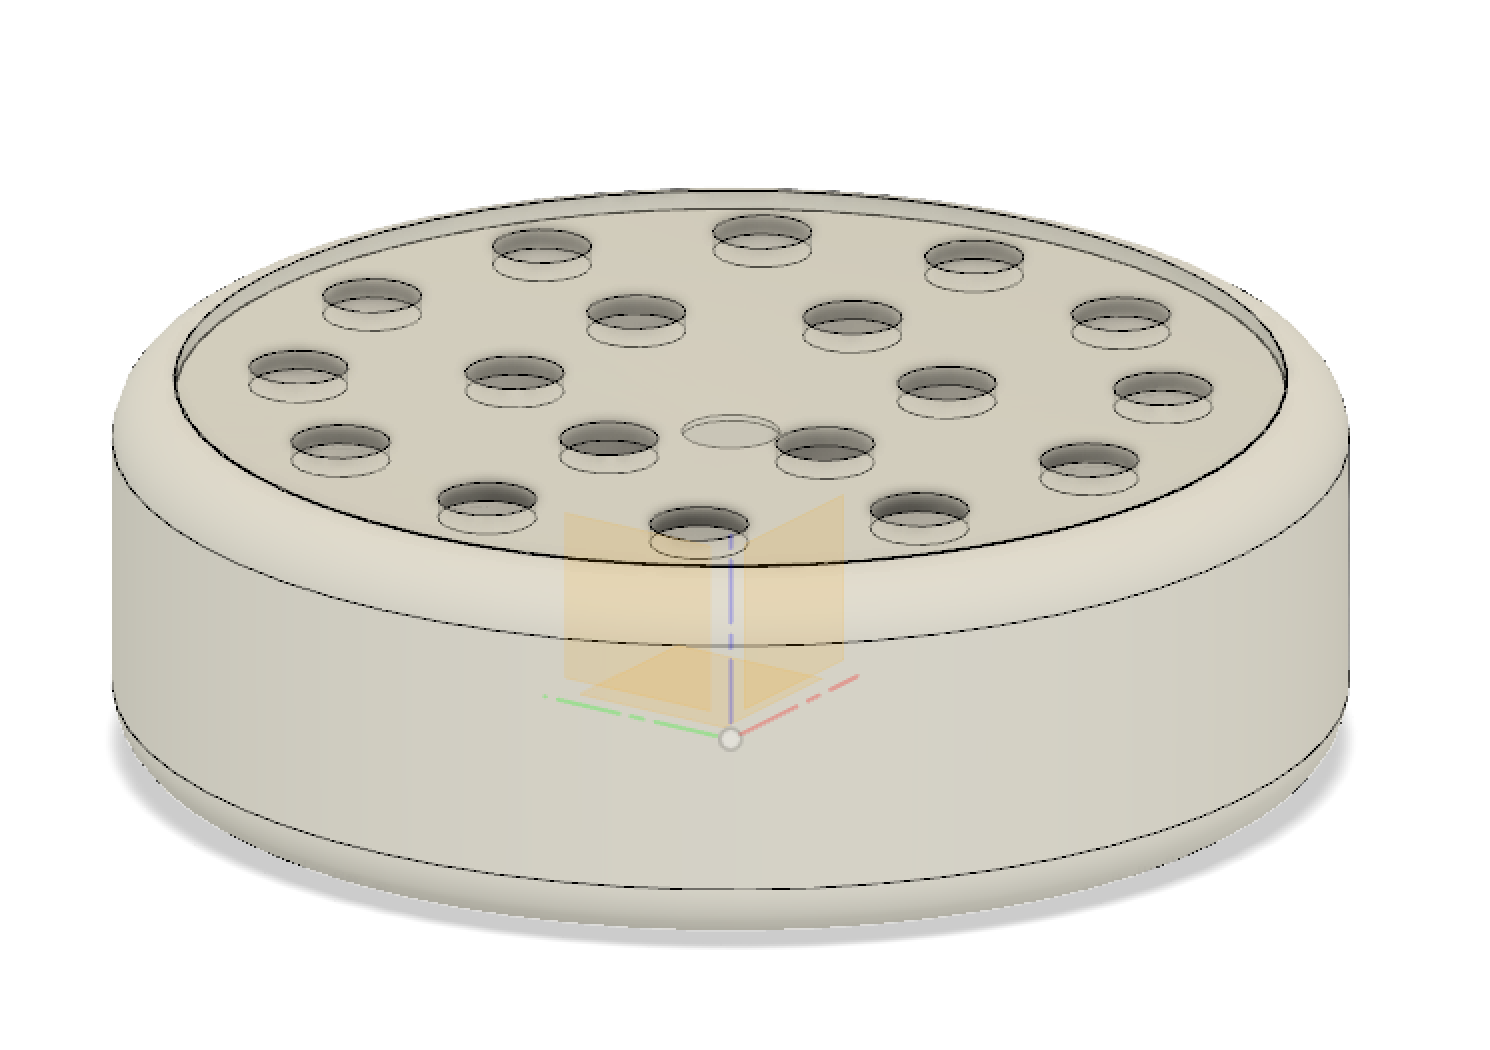
Enclosure
The enclosure houses both the Arduino and the reservoir for the water in two compartments, entirely sealed from one another save for a small passage allowing a wire to pass through to control the water pump. (Which will be protected by silicone sealing adhesive.) The enclosure is designed to be unobtrusive, so it takes the shape of a squat white cylinder with rounded edges. The planter sits on top of the enclosure, and any excess water that falls out of the bottom of the planter is caught by the funnel and returns to the reservoir. This also allows for convenient replenishing of the water reservoir by simply pouring water on top of the device. The main body of the enclosure will be 3D printed, with a laser cut acrylic grating on top.
The electronics consist of an Arduino UNO with a motor control shield, a moisture sensor, and a miniature submersible pump. The Arduino continuously uses the moisture sensor to monitor the moisture content of the soil in the planter. Should the moisture content drop below a certain threshold (set by the programmer), the water pump will be activated. Water pump activation continues for at least three seconds before the moisture level is checked again. When the moisture content is once again raised past the defined threshold level, the water pump is switched off.

Prototyping in Prototypic Environment
Parameter Testing
Using real soil, we want to determine the rate of change in soil moisture after water has been poured. The rate of change is related to the rate of diffusion.
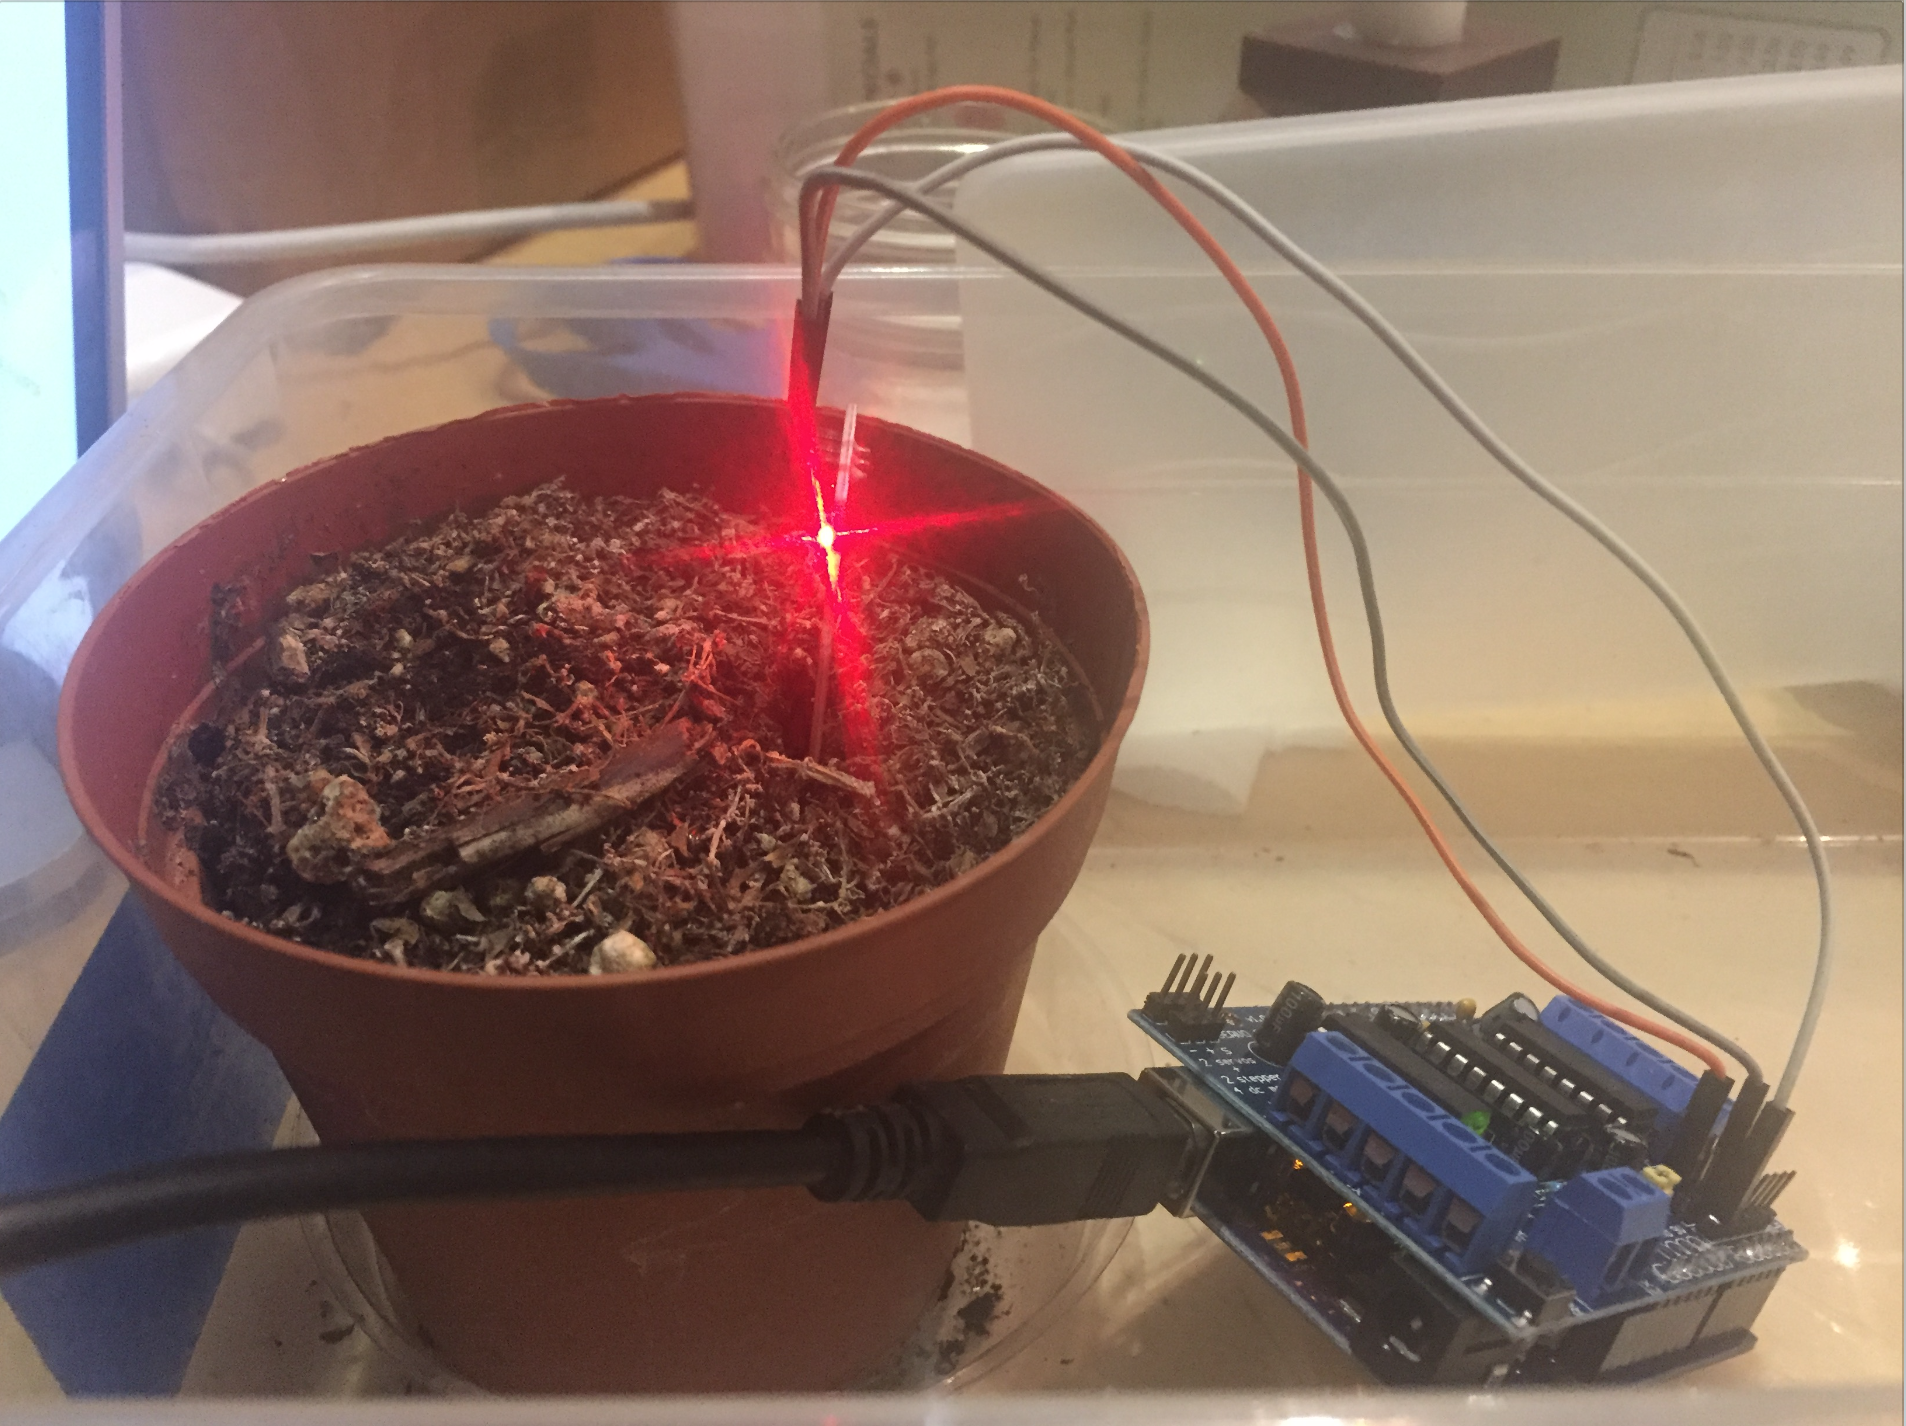
For our first experiment, we start with bone dry soil which produces a reading of 0 on the moisture sensor. Water is poured into the soil approximately an inch from the sensor.
We programmed the Arduino with the 100/ms sampling rate.
void setup() {
  Serial.begin(9600);
  Serial.println("Hello!");
  pinMode(A0, INPUT);
}

void loop() {
  Serial.println(analogRead(A0));
  Serial.print(" ");
  delay(100);
}
The Arduino is connected to a serial port on the computer. The following line of bash code dumps the output of the serial port into a file.
$ cat /dev/cu.usbmodem1411 > moisturelog1.csv
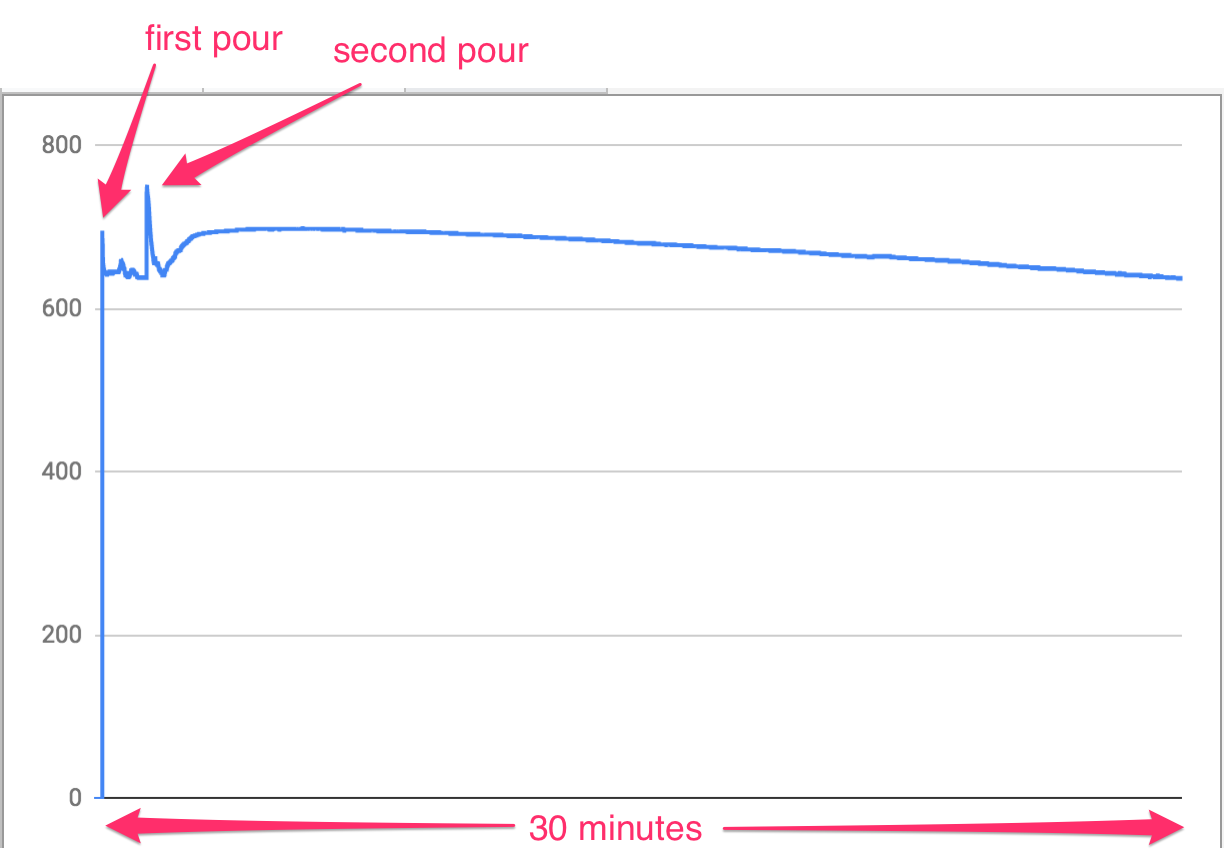
30 minutes worth of data is collected. The data in the csv file is then plotted.
Note:
- Y-axis is the sensor output (The sensor reading can go from 0 to 1023)* X-axis represent time from 0 to 30 minutes (with a sampling rate of 100/ms).
- Before the first pour, the sensor was reading 0 (bone dry soil). The first pour was about an inch from the sensor. The second pour was about half an inch from the sensor.
Clyde’s note:
- To record this data, the Arduino was programmed to output the value of analog pin 0 to the serial port, ten times each second. On the connected laptop, the serial port file /dev/cu.usbmodem1411 was piped to a new CSV file. Then water was poured into the planter twice, because the first pour was a little too far from the sensor. The data was collected for roughly 30 minutes, then imported to Google Sheets to render a plot.
- The sensor readings from analogRead on the Arduino return a number between 0 - 1023. The two spikes (reaching 696 and 742) at the beginning of the recording correspond to the two pours at the beginning of the experiment. Curiously, the second pour is followed by a slow increase in sensor reading followed by an even slower decline. The decline portion begins at 694 and reaches 638 at the end of recording, about a half hour later. At time of writing, our guess at an explanation for this data shape is that following the second pour the water content of the soil diffuses and more moisture contacts the sensor. Afterward, gravity pulls the water down and away from the sensor, slowly decreasing the reading. Later experiments will need to use more controlled pours as well as introduce a second sensor (such as water flow rate) to correlate moisture change and pour times, and put these hypotheses to the test.
